public static void printSnakeListToJavaVar(List<String> snakeList) {
for (String columnName : snakeList) {
columnName = columnName.trim();
System.out.println("@Column(name=\"" + columnName + "\")");
System.out.println("String " + snakeToJavaVar(columnName.toLowerCase()) + ";");
}

    }
 public static String snakeToJavaVar(String str) {
        // Capitalize first letter of string
        str = str.substring(0, 1).toLowerCase()
                + str.substring(1);

        // Run a loop till string
        return capitalizeFirstCharAfterDelimiter(str, "_");
}
private static String capitalizeFirstCharAfterDelimiter(String str, String deLimiter) {
        // string contains delimiter
        while (str.matches(".*" + deLimiter + ".*")) {

            str = str.replaceFirst(
                    deLimiter + "[a-z]",
                    String.valueOf(
                            Character.toUpperCase(
                                    str.charAt(
                                            str.indexOf(deLimiter) + 1))));
        }

        return str;
    }
Blog
Tricks to Increase your productivity
Sun Nov 13 00:00:00 UTC 2022
Is anybody faced a scenario where they found it’s efficient to automate the code generation so that eliminate monotonous work, here are a few scenarios I faced and how few tricks helped me to increase the productivity
-
Creating Database domain class from Schema, most of the time the database columns will be in snake case (eg: COLUMN_NAME), it will be error prone to create domain object of Table which have more than 20 columns manually. There are tools available in Hibernate and other ORM frame work to do it, but if don’t want to use it please use the following snippet.
-
Schema from Domain object like in the first example there might situations a dev will be encountering to create a schema from domain object, the following code snippet will be helpful in this scenario
public static String camelToSnake(String str) {
        String result = "";
        char c = str.charAt(0);
        result = result + Character.toLowerCase(c);
        for (int i = 1; i < str.length(); i++) {

            char ch = str.charAt(i);
            if (Character.isUpperCase(ch)) {
                result = result + '_';
                result
                        = result
                        + Character.toLowerCase(ch);
            }else {
                result = result + ch;
            }
        }

        return result;
}-
Delimited String to Upper Camel Case this is used when situation when dev has to Transform a String or set of String’s which are Saved in ERP,DB etc. to a String presentable in UI
CaseConvertor.stringToUpperCamelIncludeDelimiter("12 DAYS"," ")
public static String stringToUpperCamelIncludeDelimiter(String str, String delimiter) {
        return Arrays.stream(str.toLowerCase().split(delimiter))
                .map(CaseConvertor::capitalize)
                .collect(Collectors.joining(delimiter));
    }

    public static String capitalize(String str) {
        if (str == null || str.length() <= 1) return str;
        return str.substring(0, 1).toUpperCase() + str.substring(1);
    }
Enhanced Dynamo DB and Integration Test Using Dynamo Local
Sun Oct 16 00:00:00 UTC 2022
AWS Released new Enhanced Dynamo Client Enhanced Dynamo Client which helps Java developers to easily Implement DAO Implementation without writing the mapping logic and AWS provides Downloadable DynamoDb which helps developers to do the Integration testing with Dynamo DB without connecting to the Cloud.
This post explains how to Implement a generic DynamoDBService Class using Enhanced Dynamo Client and Write Unit/Integration Test Cases using Downloadable DynamoDb
The full source code can be found under following repo
I have used following links and github repos to build this example
Prerequisite
-
Java > 11
-
Gradle > 5
Setting Enhanced Client in Gradle
To set up enhanced Client in Gradle following dependecies needs to be added
    implementation 'com.amazonaws:aws-java-sdk-dynamodb:1.11.434'
    implementation 'software.amazon.awssdk:dynamodb:2.17.28'
    implementation 'software.amazon.awssdk:dynamodb-enhanced:2.17.28'
Setting up DynamoDb Local
Aws documentation provides steps to setting up maven build but Gradle setting up is not provided by AWS and this library is not available central maven repo, so users needs to set up aws maven repo for setting DynamoDb Local
repositories {
    maven {
        name
         url "https://s3-us-west-2.amazonaws.com/dynamodb-local/release"
    }
}
following dependency will add DynamoDbLocal to the gradle project
testImplementation group: 'com.amazonaws', name: 'DynamoDBLocal', version: '1.11.119'you can find more info about the set up in https://github.com/redskap/aws-dynamodb-java-example-local-testing/blob/master/README.md . As a part of test setup copy AwsDynamoDbLocalTestUtils and call AwsDynamoDbLocalTestUtils#initSqLite() during setup function of JUnit Test class
DynamoDb Domain POJO
This class is POJO representation of Dynamo DB schema, I have used lombok to avoid boiler plating of Getter and Setter methods, @DynamoDbBean represents dynamo db structure and @DynamoDbPartitionKey represents primary key id
@Data
@DynamoDbBean
public class Student {
    private String studentId;
    private String studentName;
    private String department;
    @DynamoDbPartitionKey
    @DynamoDbAttribute("studentId")
    public String getStudentId() {
        return studentId;
    }
}
DynamoDb Service Implementation
This class has full DAO implementation
-
CreateTable
-
Insert/Update Item based on partitions key
-
Get Item by Id
Setting Up JUnit Test class
During the startup JUnit will spin up a local dynamo DB instance and following code shows how to establish DynamoClient connectivity to local instance
private static final String TABLE_NAME = "Student";
private static  DynamoDBProxyServer server;
private static final String port = "8000";
private static final String uri = "http://localhost:"+port;

 @BeforeEach
    public void setUpTest() throws Exception {
        'AwsDynamoDbLocalTestUtils copied from the github repo as explained earlier'
        AwsDynamoDbLocalTestUtils.initSqLite();
        'This line will spin up local instance on 8080 port'
        server = ServerRunner.createServerFromCommandLineArgs(
                new String[]{"-inMemory", "-port", port});
        server.start();
        client=DynamoDbClient.builder()
                .endpointOverride(URI.create(uri))
                .region(Region.AF_SOUTH_1)'Any region should work '
                .credentialsProvider(StaticCredentialsProvider.create(
                        AwsBasicCredentials.create("fakeMyKeyId","fakeSecretAccessKey")))
                .build();

    }
Building your personal blog with JBake and GitHub Pages
Sat Jan 01 00:00:00 UTC 2022
This post explains steps to generate and deploy personal blog site
TechStack
JBake
JBake is a Java based, open source, static site/blog generator founded by Jonathan Bullock for developers & designers (https://jbake.org/) .The main highlights of JBake are
-
Open Source - Source available on GitHub, licensed under MIT License
-
Cross platform support - The binary distribution runs on Windows, Unix/Linux and Mac OS X.
-
Content Formats - Supports AsciiDoc, Markdown and good old HTML formatted content.
-
Open Structure - Structure your content any way you see fit.
-
Blog Aware - RSS/Atom feed, archive and tag support.
-
Draft support - View your draft content before publishing it and making it available to the world.
-
Self contained - Binary distribution contains everything you need apart from a JRE, no complicated environment setup with 3rd party dependencies.
-
Build tools - Plugins available for Gradle, Maven, mill, SBuild and sbt.
-
Template Support - Freemarker, Groovy, Thymeleaf, Jade and Pebble based templates & scripting support.
-
CSS Framework Support - Easily integrate CSS frameworks such as Bootstrap and Foundation.
-
Custom Metadata - Add as much metadata to content as you like, also exposed to templates.
-
Storage Support - Store your site content in Dropbox, CVS, SVN, Git or whatever you want.
Gradle
In this post I used Gradle to build the static content and deploy the website using Github actions
GitHub Pages
GitHub pages (https://pages.github.com/) is a hosting service provided GitHub which help GitHub users to their website directly from github repo .
GitHub Action
GitHub action is a CI/CD service provided by GitHub
Steps for Setting up your Blog
-
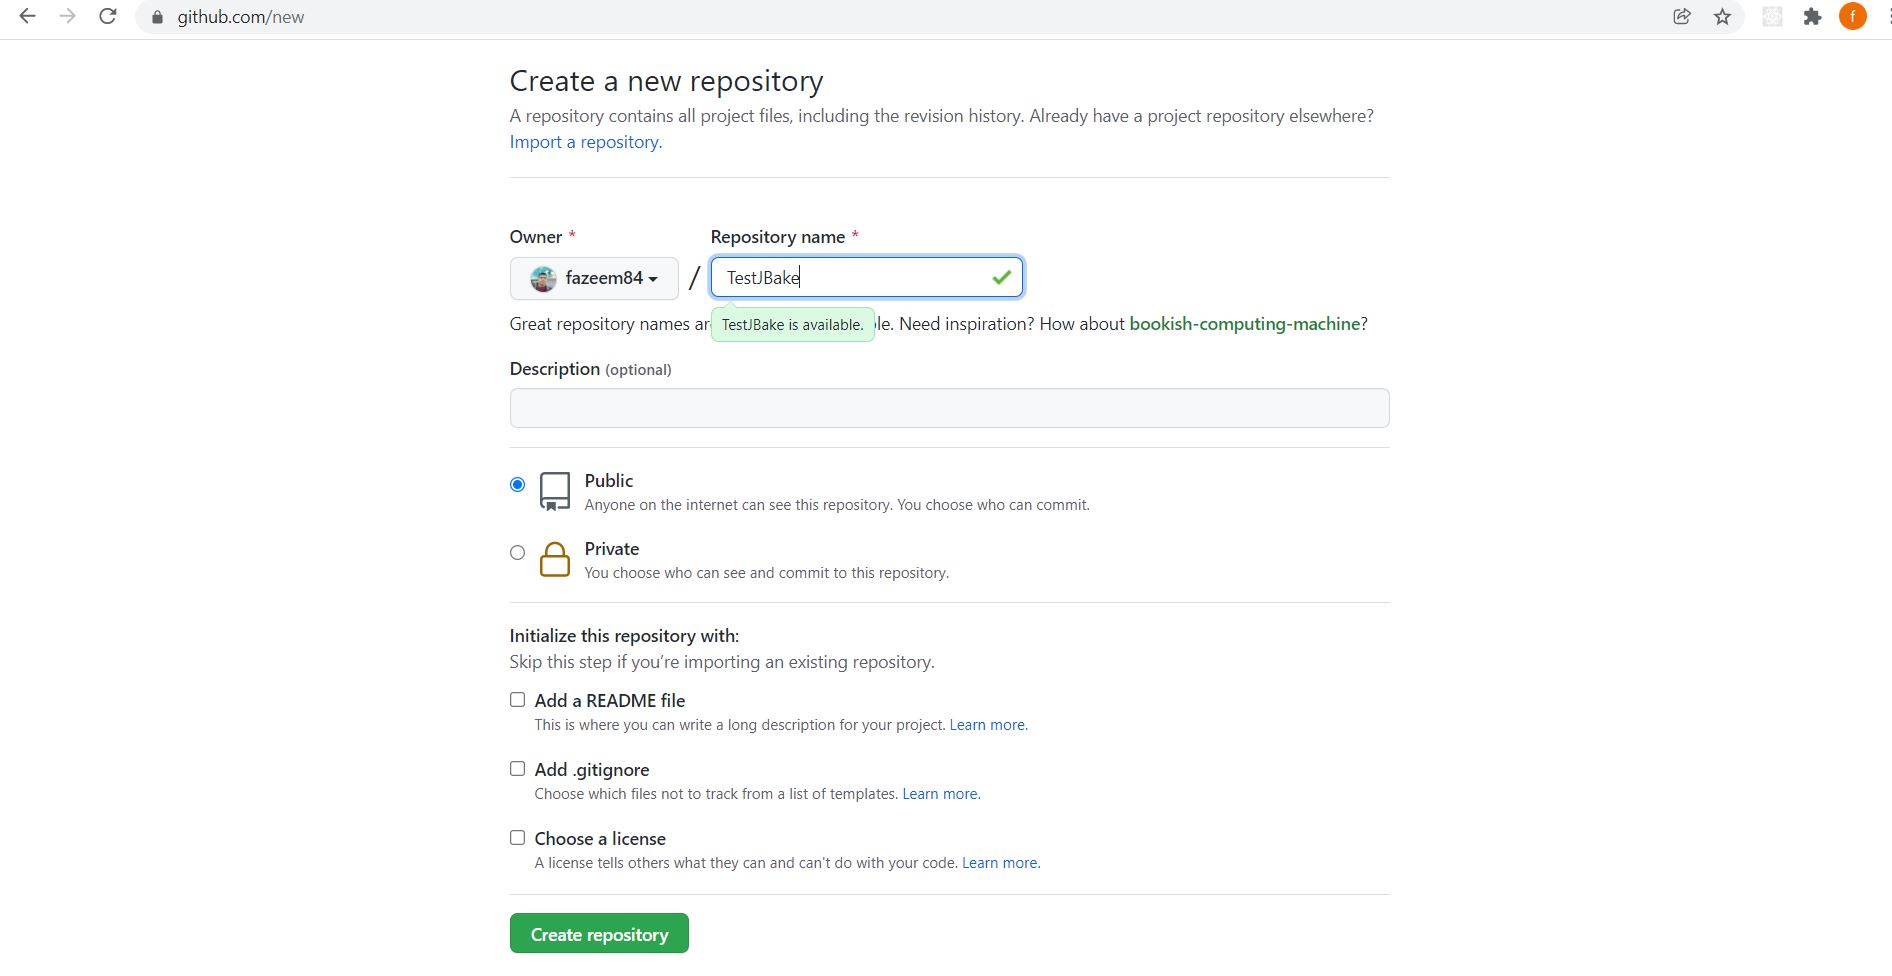
Setup the GitHub Repository
-
login to github and create new public repository
-
clone the repo into your local either by using IDE’s or command line
git clone https://github.com/fazeem84/TestJBake.git
-
-
Setup JBake using gradle
-
add build.gradle and include JBake gradle plugin as shown below
buildscript {
    repositories {
        mavenCentral()
    }
    dependencies {
        classpath  'commons-configuration:commons-configuration:1.10'
    }
}

plugins {
    id 'org.jbake.site' version '5.5.0'
}
bakeInit {
    template = 'freemarker'
}
this plugin has capability of downloading the template to your source folder from a url or a pre-defined teamplate available in JBake GitHub Repo for more information please check https://github.com/jbake-org/jbake-gradle-plugin/blob/master/README.adoc
-
Execute Gradle JBake Init command
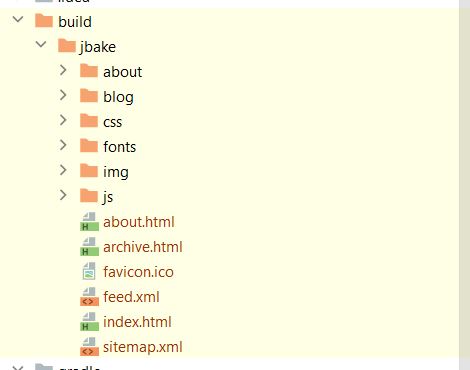
gradle bakeInit
This will generate the following folder structure with template source code

if you want know more details about the folders inside directory please refer https://jbake.org/docs/2.6.7/#project_structure
-
Execute bake step
bake step will transform the source contents in different format like .md,adoc etc to pure html ,bake step can be triggered using following gradle command
gradle bake
Once it’s successfully executed the static content will be generated under build folder
-
Running web server from your local environment
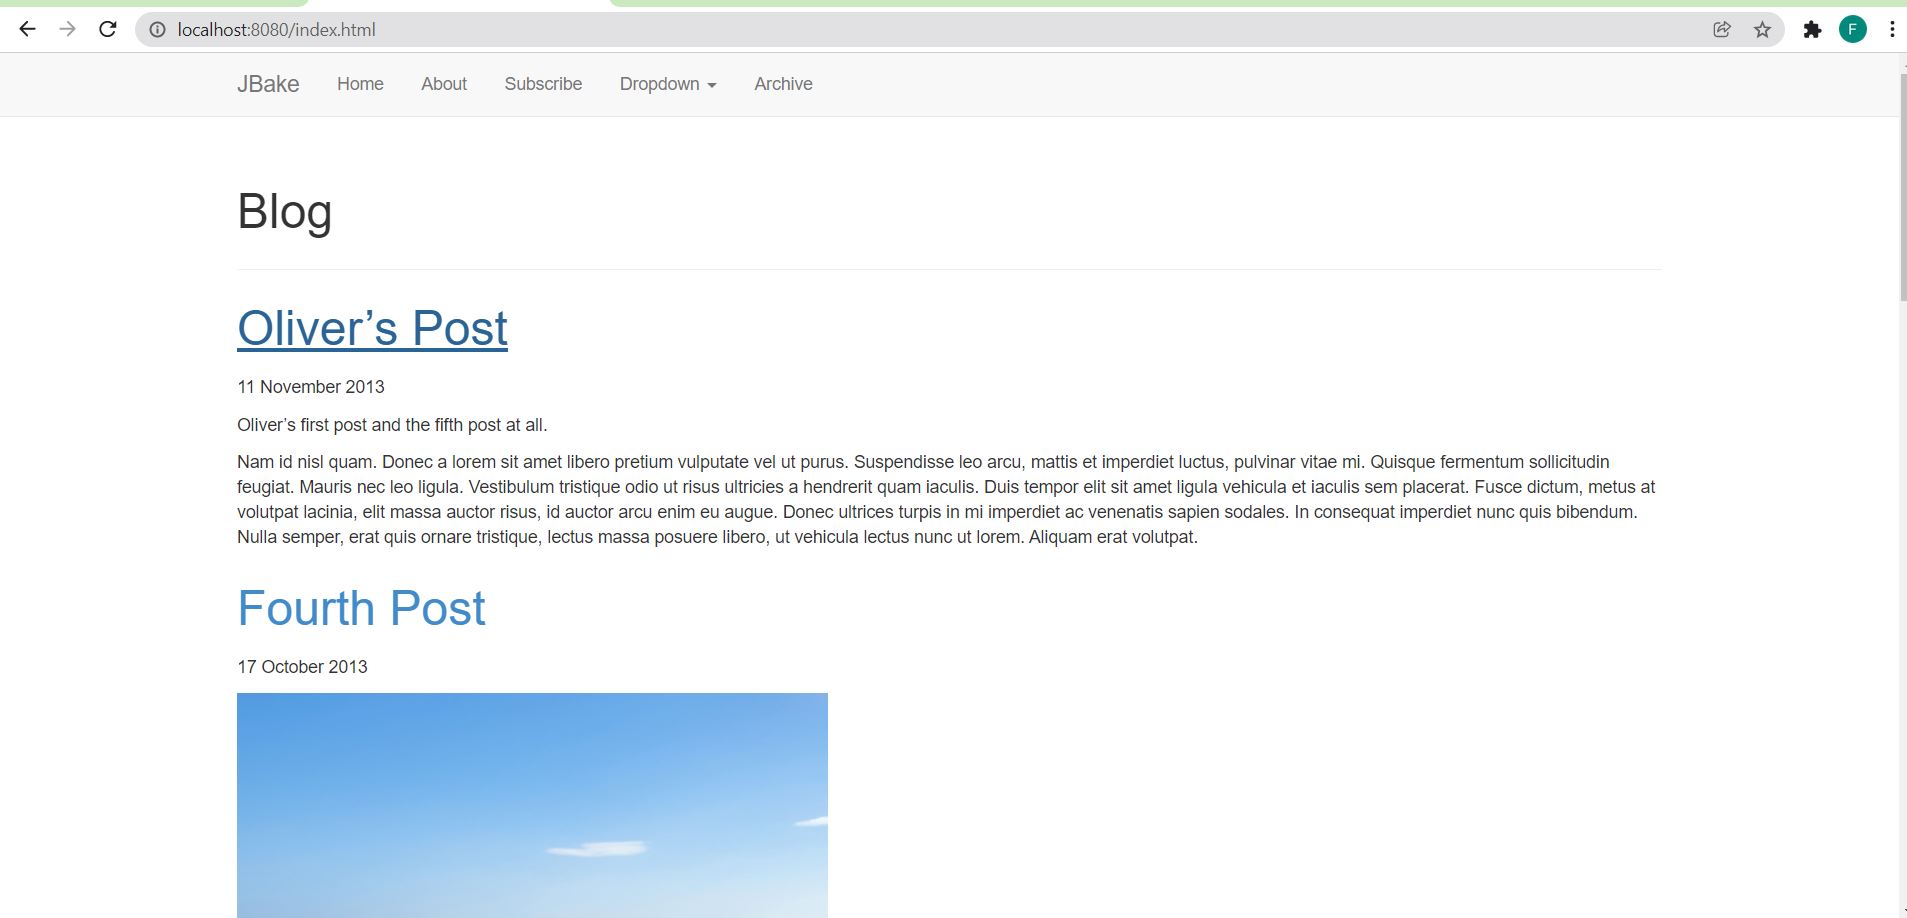
run following gradle command to start the webserver, the server will be running on 8080 port by default
gradle bakePreview --no-daemon
-
-
Setup GitHub Action
This section describes how to run gradle bake command once the code pushed to the master branch and in this example we have set up a separate branch to host git hub page so last step of build execution is to copy the gnerated files into the specified branch
-
Make sure you have all permission to run the GitHub action https://docs.github.com/en/repositories/managing-your-repositorys-settings-and-features/enabling-features-for-your-repository/managing-github-actions-settings-for-a-repository
-
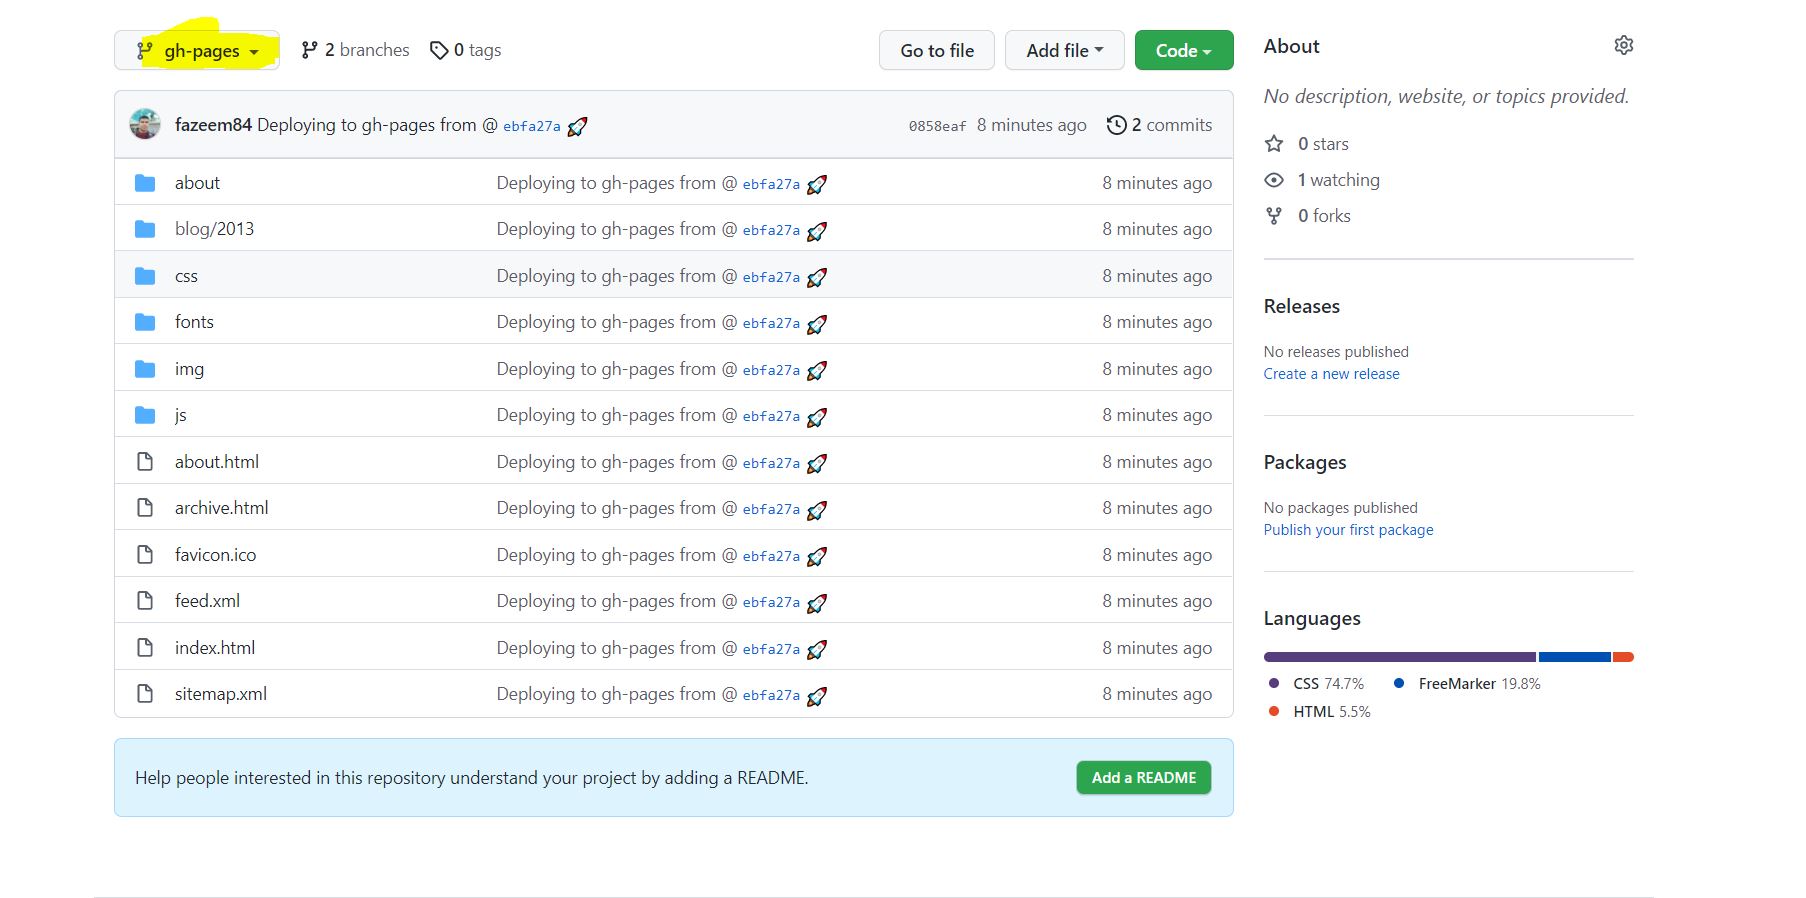
create a new branch(gh-pages) from where the git hub page will be served in future steps
-
create .git/workflow folder and create yaml/yml file build file and copy paste the following code and check-in/push the repository into github(Make sure your committing tha gradle folder and gradle related file in the root folder )
name: Jbake-WorkFlow on: # Trigger the workflow on push or pull request, # but only for the main branch push: branches: - master jobs: build: runs-on: ubuntu-latest steps: - uses: actions/checkout@v2 - name: "Set up JDK 11 " uses: actions/setup-java@v2 with: distribution: adopt java-version: "11" - name: "Validate Gradle wrapper" uses: gradle/wrapper-validation-action@e6e38bacfdf1a337459f332974bb2327a31aaf4b - name: Make gradlew executable run: chmod +x ./gradlew - name: "Build with Gradle" run: "./gradlew bake" - name: Deploy uses: JamesIves/github-pages-deploy-action@4.1.7 with: BRANCH: gh-pages FOLDER: build/jbake -
after pushing the code build will kick start in the action section and generated file will be copied to a new branch (gh-pages in this example,please check deploy stage in yaml file)
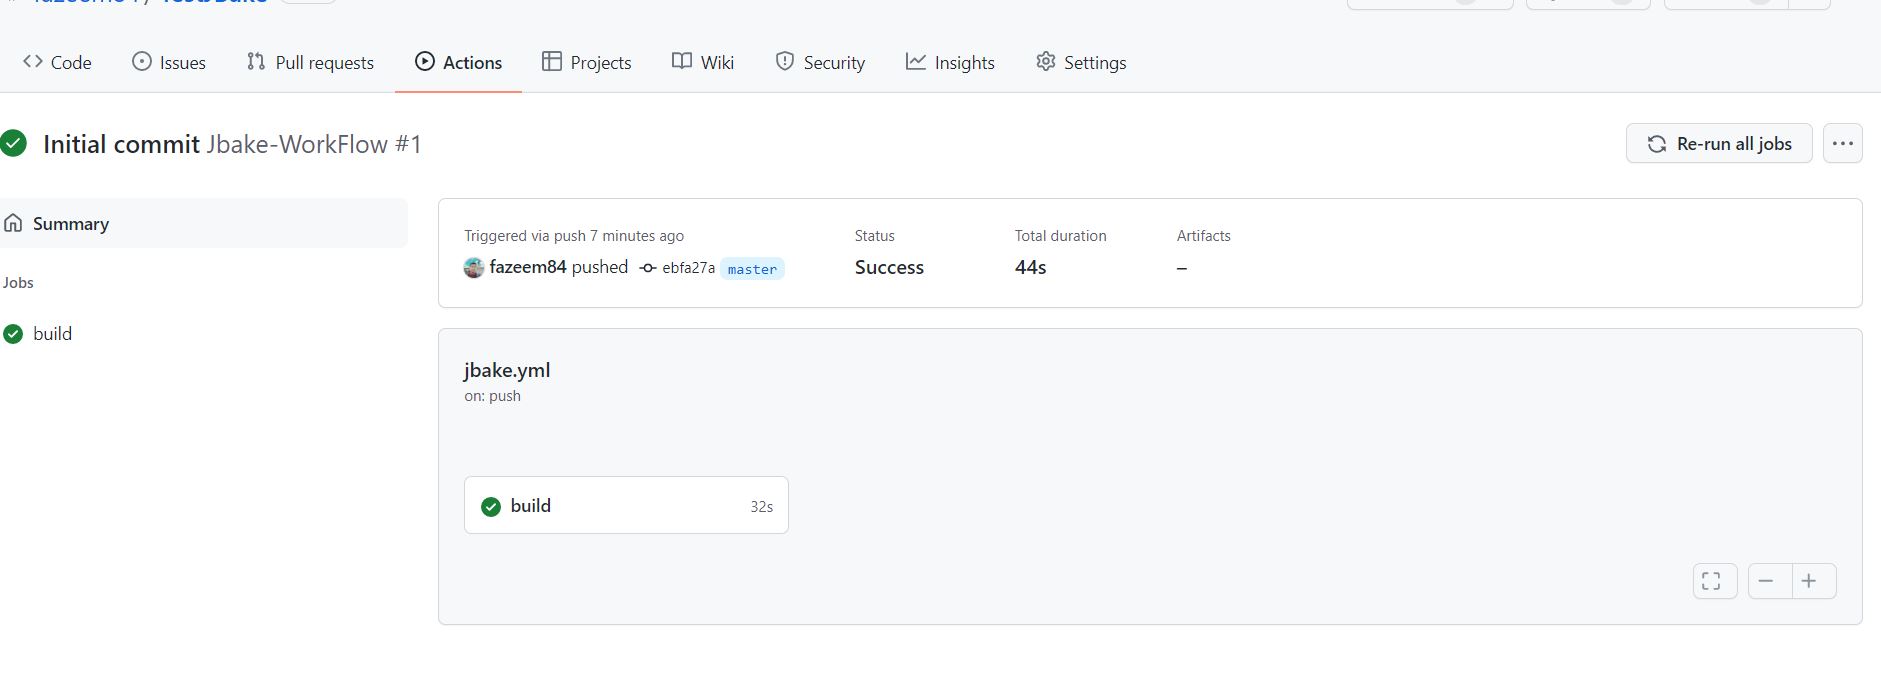
Source Code is available in https://github.com/fazeem84/TestJBake
-
-
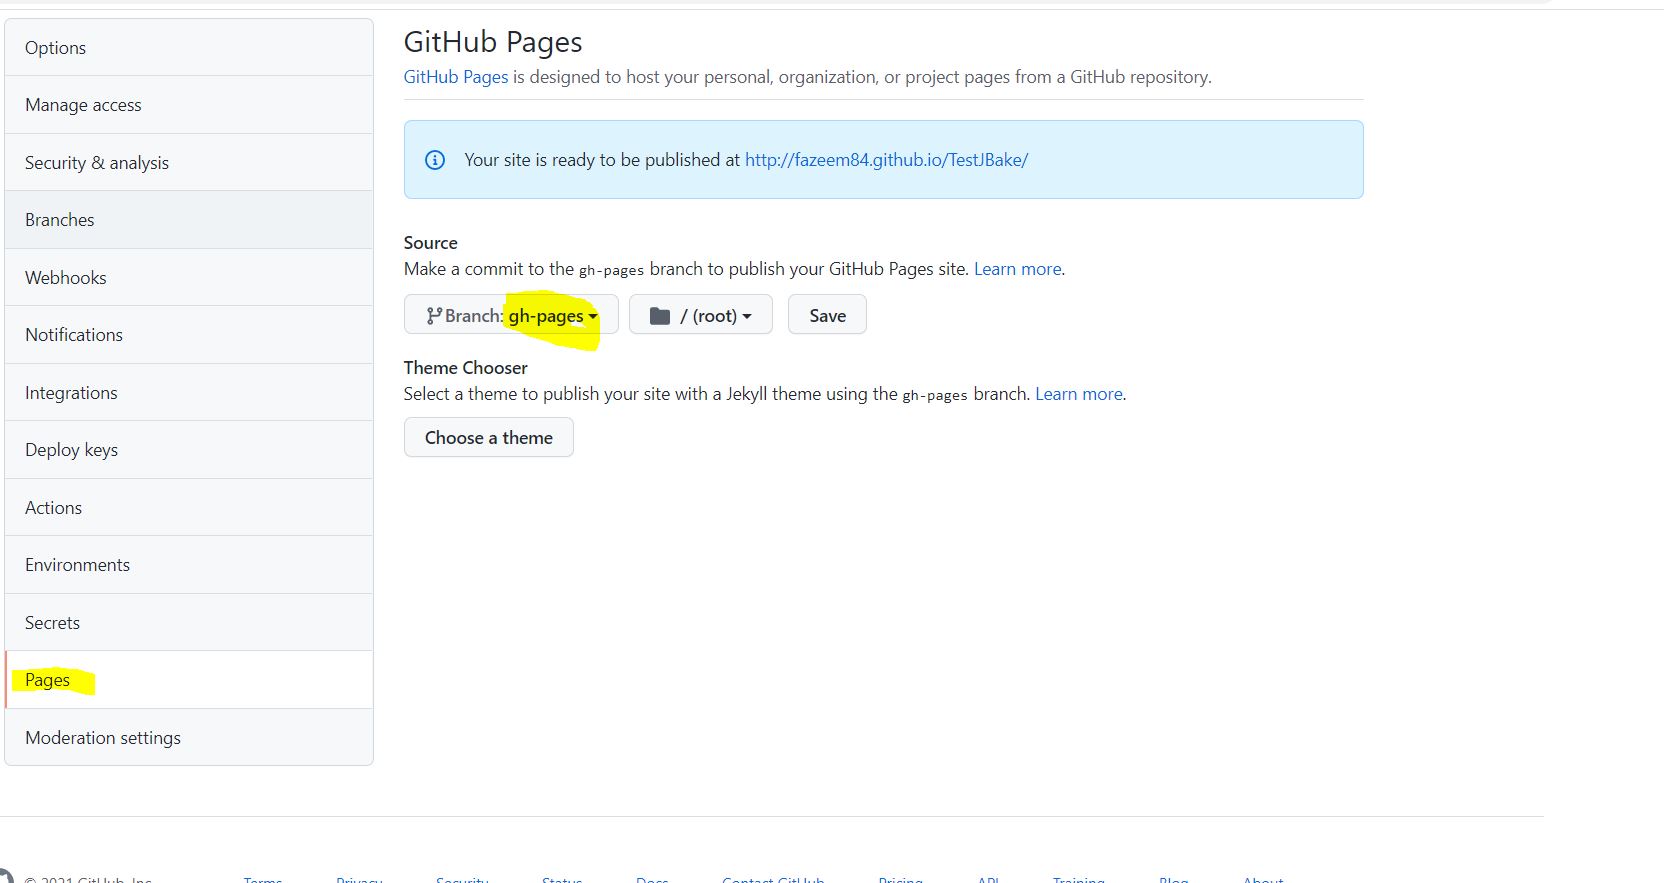
Setup GitHub Page
-
Navigate to repository settings and select the branch from which the website is being server from (gh-page in our example) and save the settings
-
Page is successfully hosted on the url as in the GitHub Page settings
-
Older posts are available in the archive.