git clone https://github.com/fazeem84/TestJBake.gitBuilding your personal blog with JBake and GitHub Pages
Sat Jan 01 00:00:00 UTC 2022
This post explains steps to generate and deploy personal blog site
TechStack
JBake
JBake is a Java based, open source, static site/blog generator founded by Jonathan Bullock for developers & designers (https://jbake.org/) .The main highlights of JBake are
-
Open Source - Source available on GitHub, licensed under MIT License
-
Cross platform support - The binary distribution runs on Windows, Unix/Linux and Mac OS X.
-
Content Formats - Supports AsciiDoc, Markdown and good old HTML formatted content.
-
Open Structure - Structure your content any way you see fit.
-
Blog Aware - RSS/Atom feed, archive and tag support.
-
Draft support - View your draft content before publishing it and making it available to the world.
-
Self contained - Binary distribution contains everything you need apart from a JRE, no complicated environment setup with 3rd party dependencies.
-
Build tools - Plugins available for Gradle, Maven, mill, SBuild and sbt.
-
Template Support - Freemarker, Groovy, Thymeleaf, Jade and Pebble based templates & scripting support.
-
CSS Framework Support - Easily integrate CSS frameworks such as Bootstrap and Foundation.
-
Custom Metadata - Add as much metadata to content as you like, also exposed to templates.
-
Storage Support - Store your site content in Dropbox, CVS, SVN, Git or whatever you want.
Gradle
In this post I used Gradle to build the static content and deploy the website using Github actions
GitHub Pages
GitHub pages (https://pages.github.com/) is a hosting service provided GitHub which help GitHub users to their website directly from github repo .
GitHub Action
GitHub action is a CI/CD service provided by GitHub
Steps for Setting up your Blog
-
Setup the GitHub Repository
-
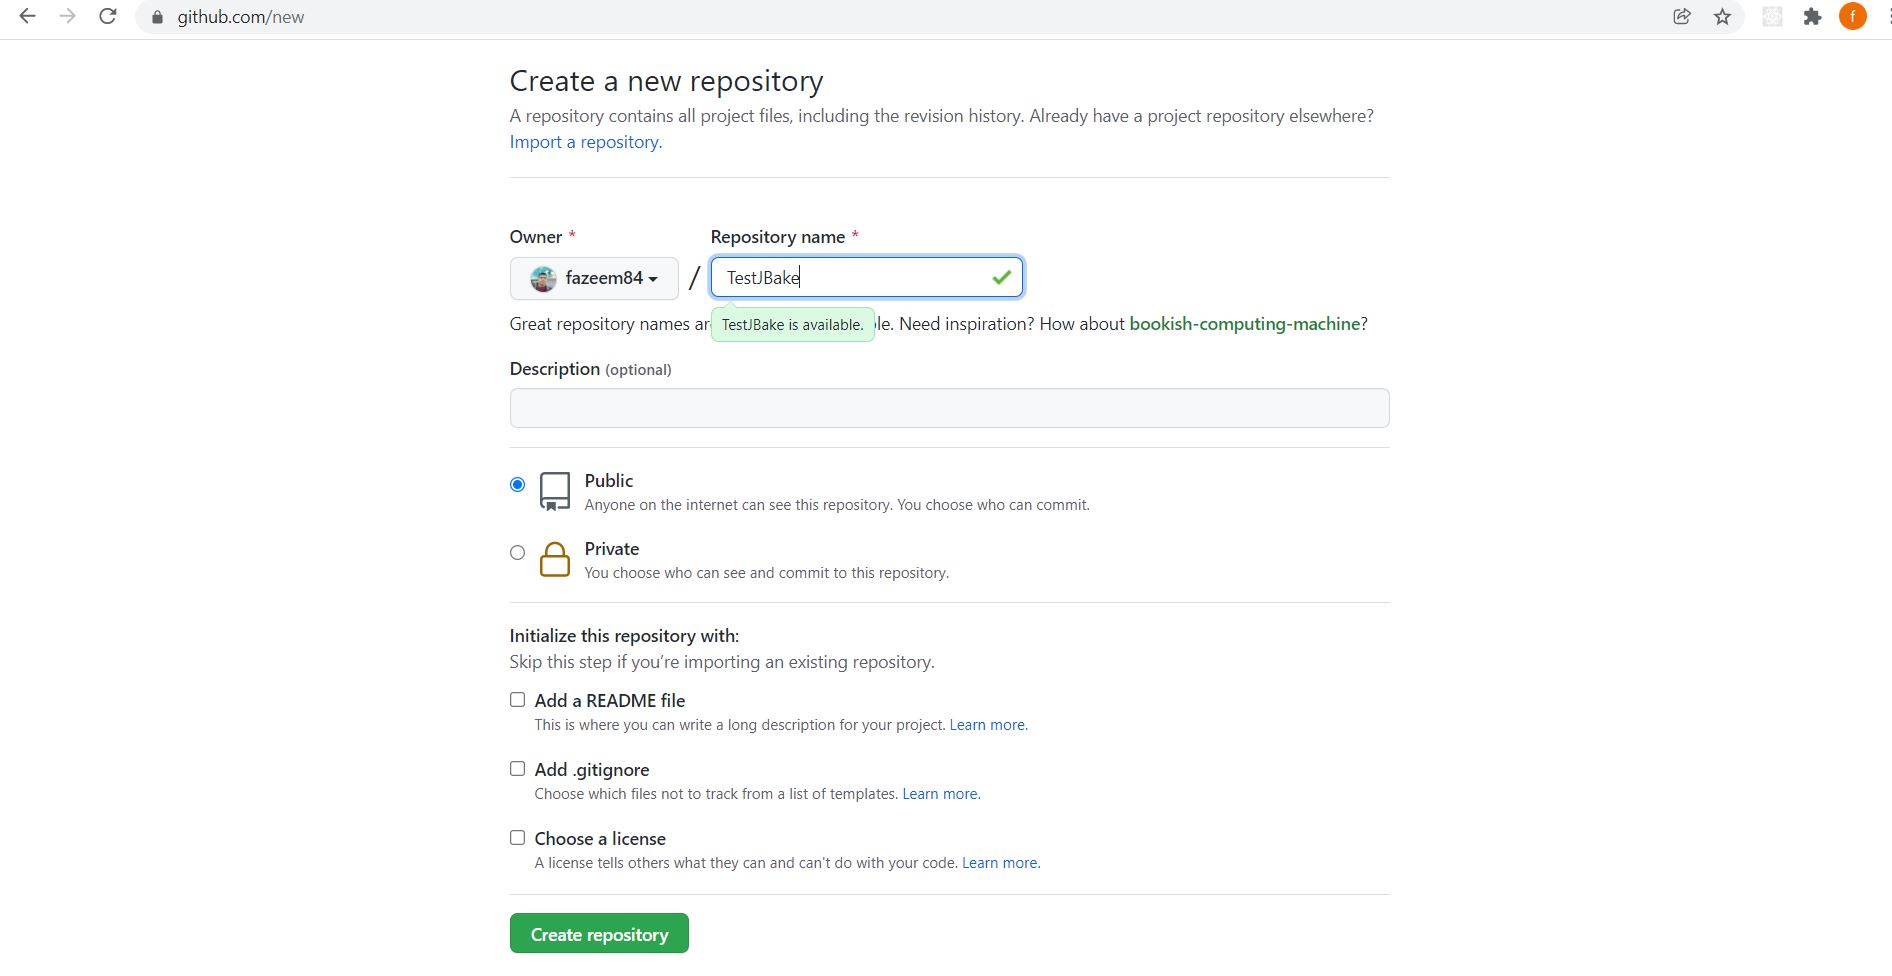
login to github and create new public repository
-
clone the repo into your local either by using IDE’s or command line
-
-
Setup JBake using gradle
-
add build.gradle and include JBake gradle plugin as shown below
buildscript {
    repositories {
        mavenCentral()
    }
    dependencies {
        classpath  'commons-configuration:commons-configuration:1.10'
    }
}

plugins {
    id 'org.jbake.site' version '5.5.0'
}
bakeInit {
    template = 'freemarker'
}
this plugin has capability of downloading the template to your source folder from a url or a pre-defined teamplate available in JBake GitHub Repo for more information please check https://github.com/jbake-org/jbake-gradle-plugin/blob/master/README.adoc
-
Execute Gradle JBake Init command
gradle bakeInit
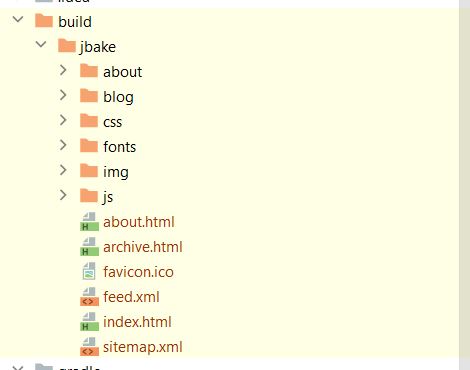
This will generate the following folder structure with template source code
if you want know more details about the folders inside directory please refer https://jbake.org/docs/2.6.7/#project_structure
-
Execute bake step
bake step will transform the source contents in different format like .md,adoc etc to pure html ,bake step can be triggered using following gradle command
gradle bake
Once it’s successfully executed the static content will be generated under build folder
-
Running web server from your local environment
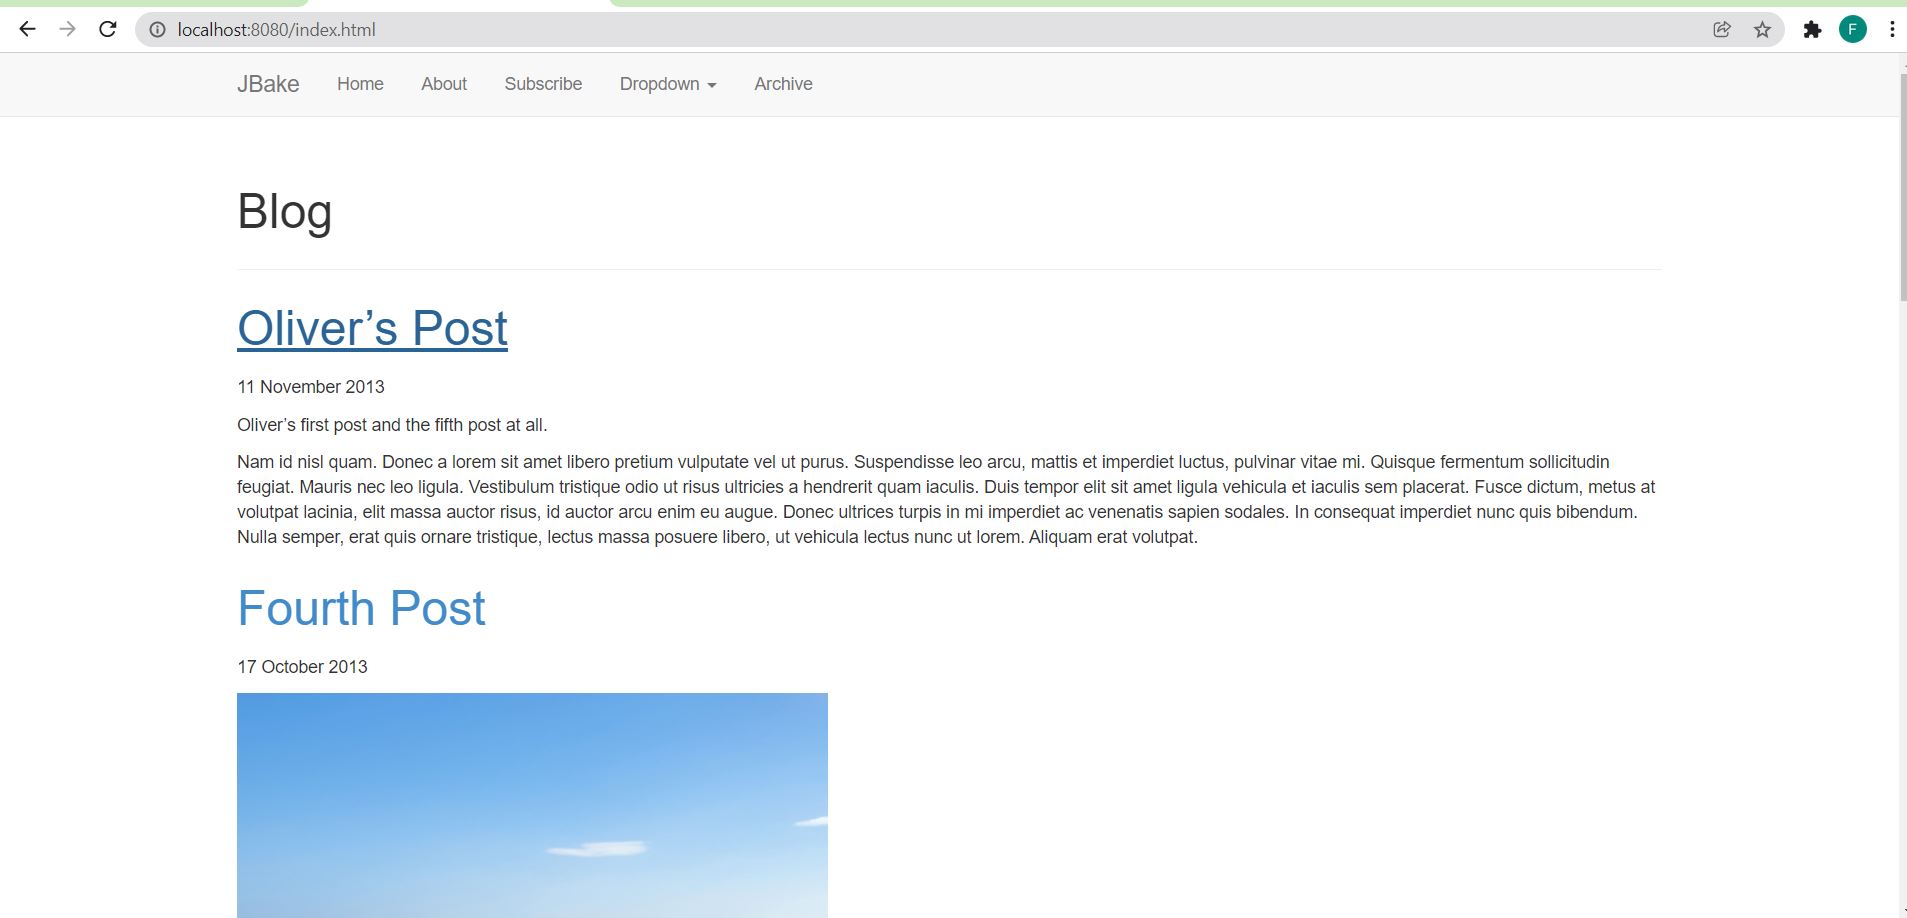
run following gradle command to start the webserver, the server will be running on 8080 port by default
gradle bakePreview --no-daemon
-
-
Setup GitHub Action
This section describes how to run gradle bake command once the code pushed to the master branch and in this example we have set up a separate branch to host git hub page so last step of build execution is to copy the gnerated files into the specified branch
-
Make sure you have all permission to run the GitHub action https://docs.github.com/en/repositories/managing-your-repositorys-settings-and-features/enabling-features-for-your-repository/managing-github-actions-settings-for-a-repository
-
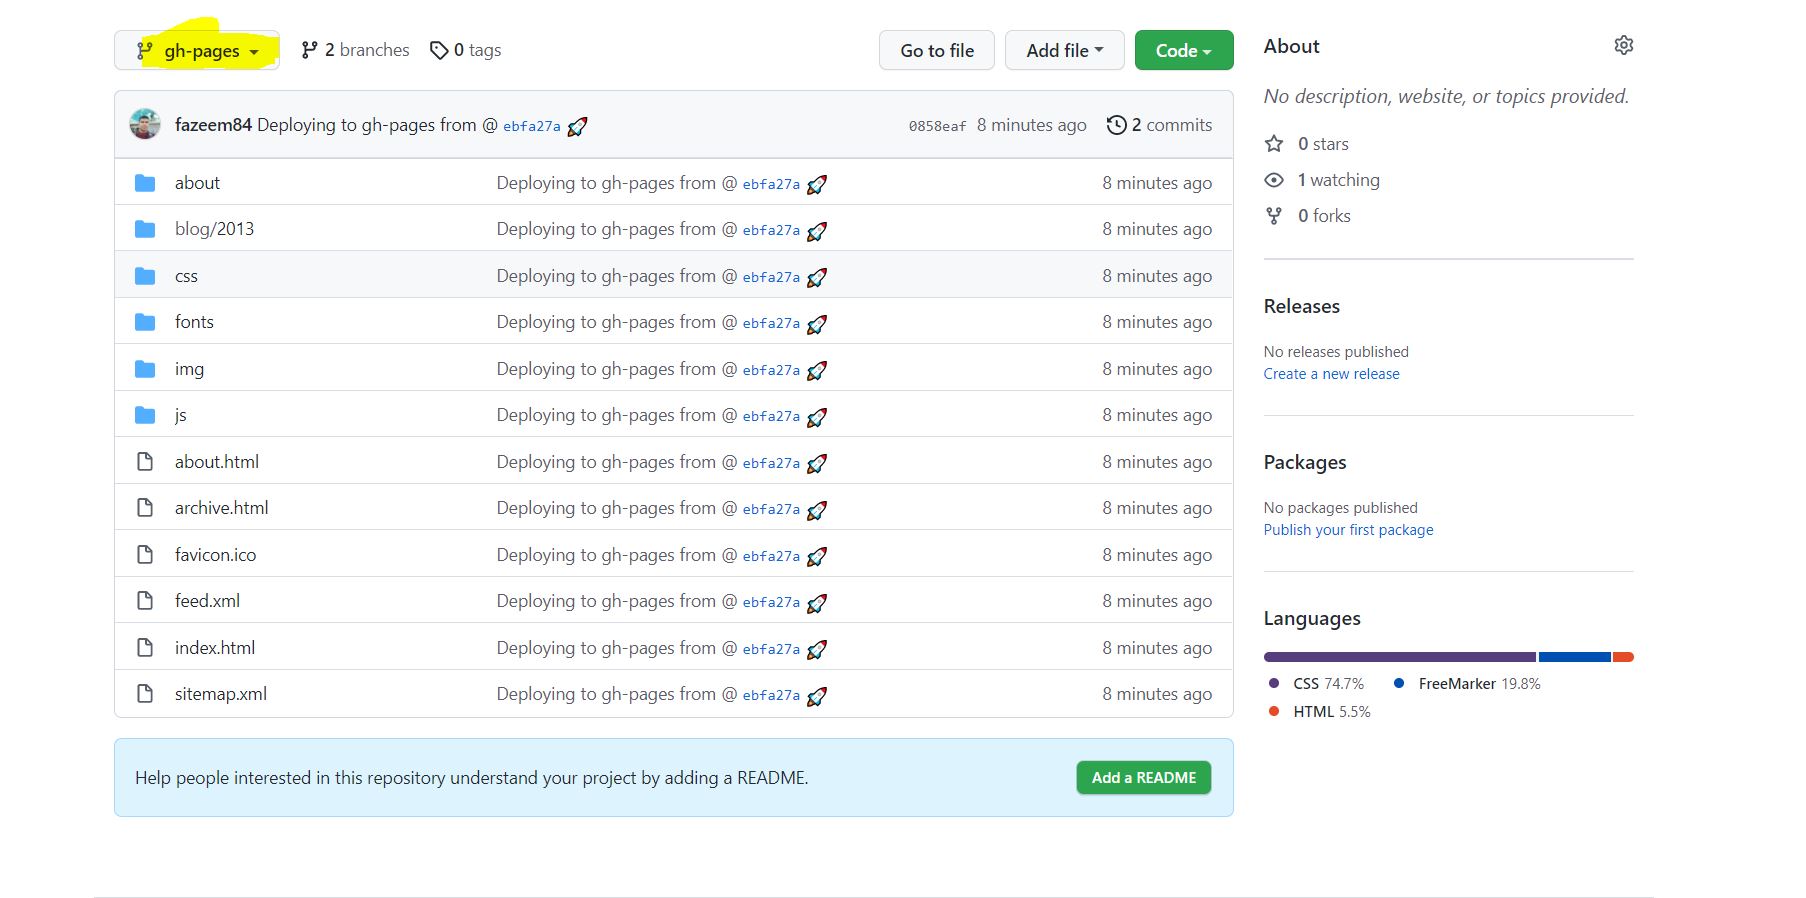
create a new branch(gh-pages) from where the git hub page will be served in future steps
-
create .git/workflow folder and create yaml/yml file build file and copy paste the following code and check-in/push the repository into github(Make sure your committing tha gradle folder and gradle related file in the root folder )
name: Jbake-WorkFlow on: # Trigger the workflow on push or pull request, # but only for the main branch push: branches: - master jobs: build: runs-on: ubuntu-latest steps: - uses: actions/checkout@v2 - name: "Set up JDK 11 " uses: actions/setup-java@v2 with: distribution: adopt java-version: "11" - name: "Validate Gradle wrapper" uses: gradle/wrapper-validation-action@e6e38bacfdf1a337459f332974bb2327a31aaf4b - name: Make gradlew executable run: chmod +x ./gradlew - name: "Build with Gradle" run: "./gradlew bake" - name: Deploy uses: JamesIves/github-pages-deploy-action@4.1.7 with: BRANCH: gh-pages FOLDER: build/jbake -
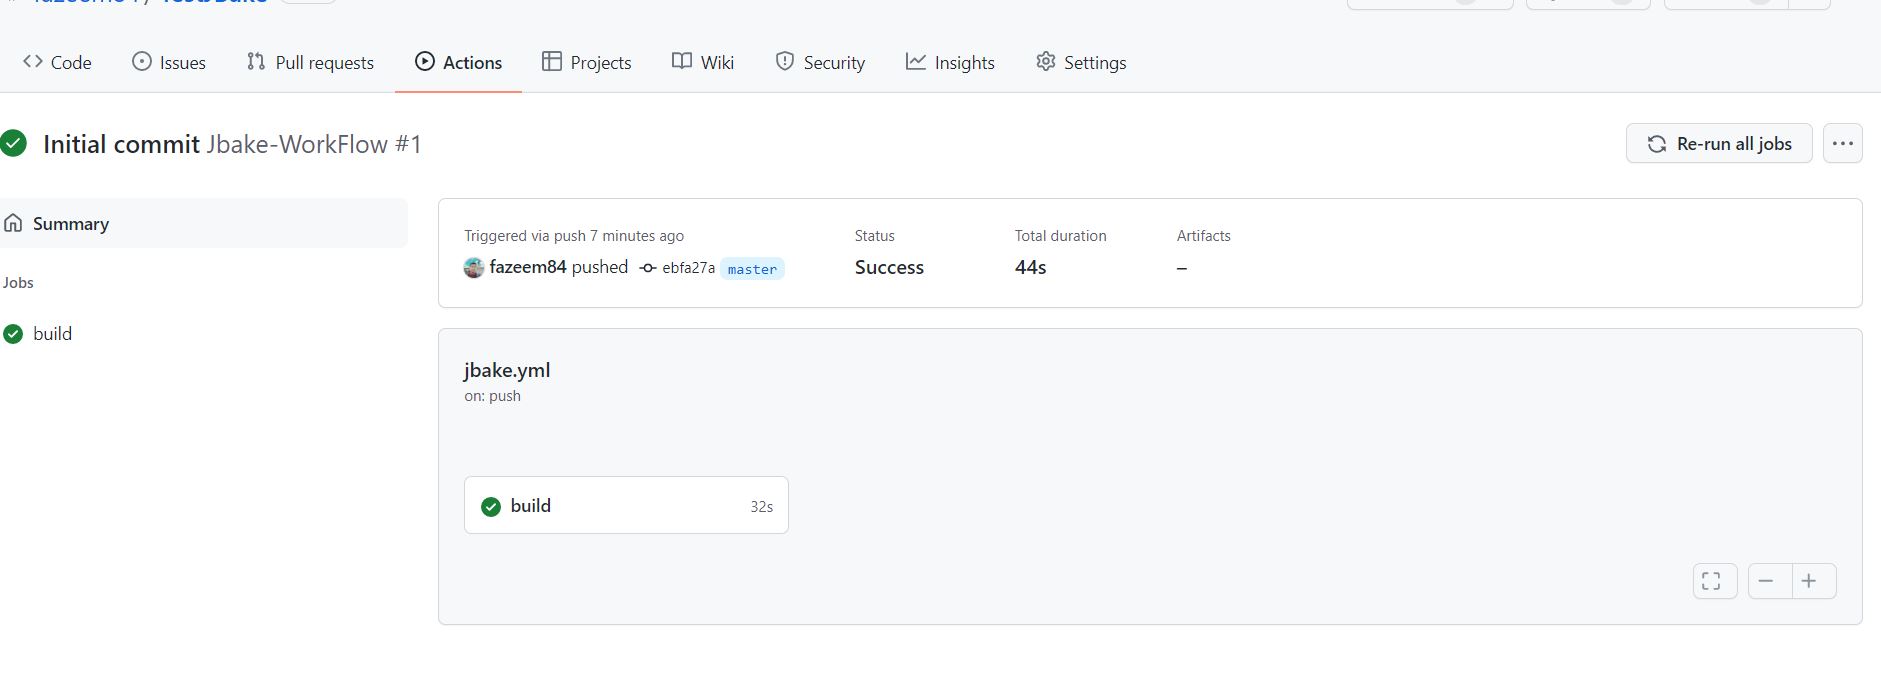
after pushing the code build will kick start in the action section and generated file will be copied to a new branch (gh-pages in this example,please check deploy stage in yaml file)
Source Code is available in https://github.com/fazeem84/TestJBake
-
-
Setup GitHub Page
-
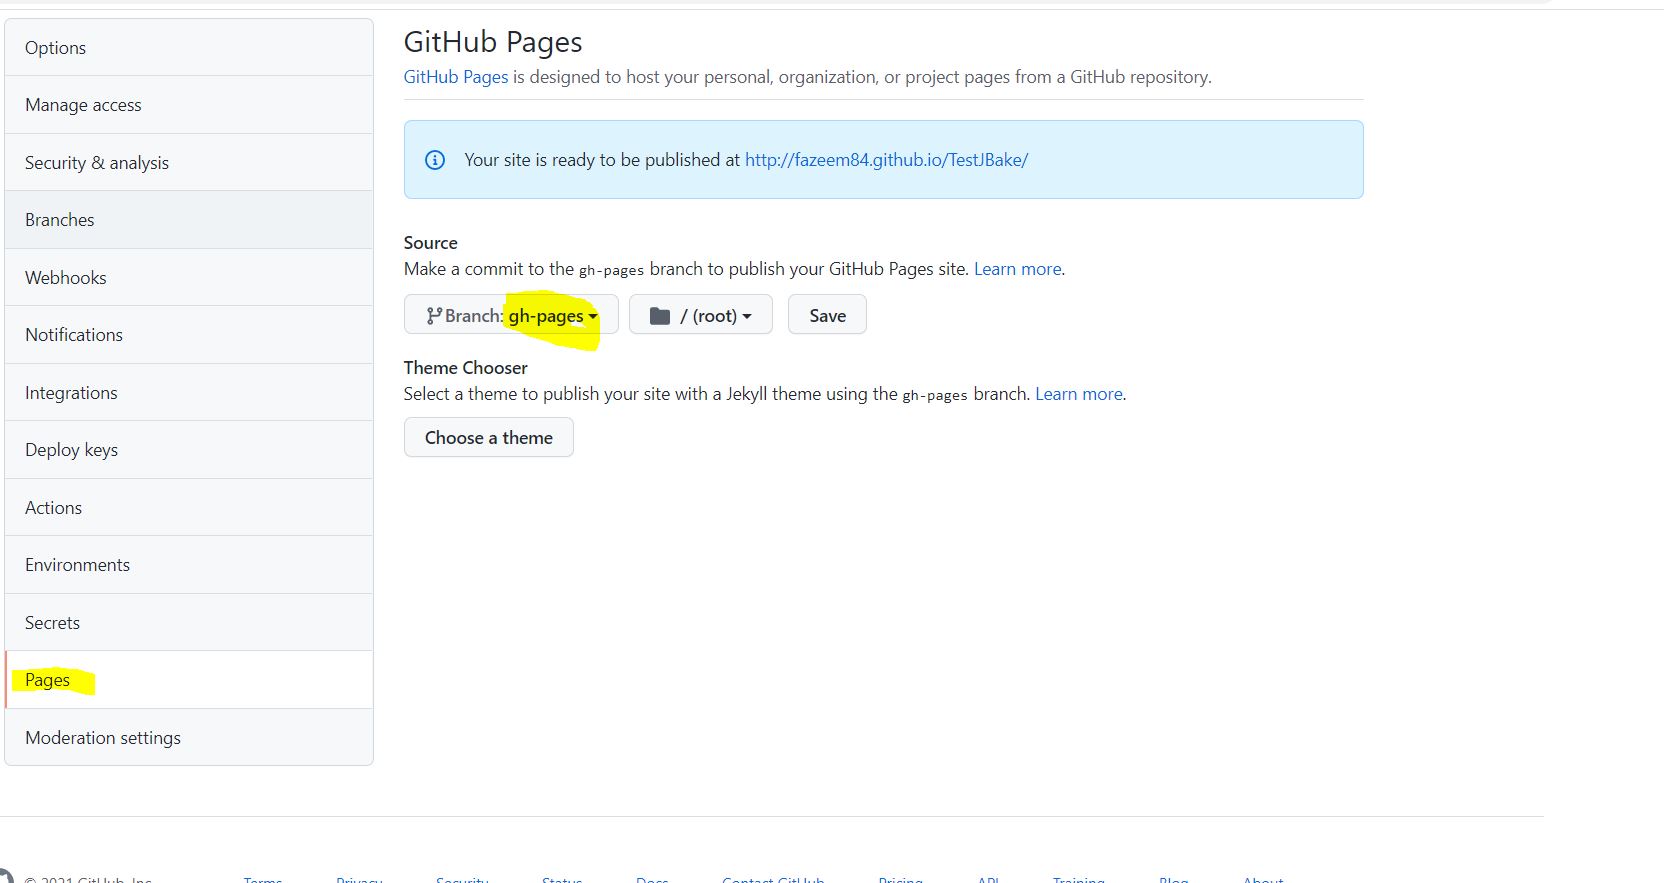
Navigate to repository settings and select the branch from which the website is being server from (gh-page in our example) and save the settings
-
Page is successfully hosted on the url as in the GitHub Page settings
-
